Event timeline screen
This topic provides an overview of the Event timeline screen and all the settings and buttons on it.
The Event timeline screen allows you to manage all the events associated with the case. You can create your event with or without an associated a location.
Events are used to determine if the device was at a location during the
Events can also be created automatically when you upload a geofence or tower dump file. If there is not already an event for the same location and time frame then a new event is created and named "<Location name>,Event<n>", however if there is already an event for the same location and time frame then the new file data is added to the existing event and the event start and end times adjusted if required.
Single events associated with a location can also be added to a case from the Locations of interest screen (Case management). These events are also automatically added to the Event timeline, however deleting them from the timeline does not remove them from the Locations of interest screen (Case management) so that you can still use the event in your other analyses. You can also import a location file from the Locations of interest screen containing multiple locations and if the file also includes event times then an event is also automatically created on the Event timeline screen.
The Event timeline screen also allows you to add events without associating them with a location. Events with and without locations are both included in the Person whereabouts analysis.
You can also filter what data is displayed on the ESPA analysis center screen by the events using Event timeline on the Input and settings view.
NOTE: When performing a target development analysis, after making any changes to the event timeline you must reconsolidate the analysis before viewing the results on the ESPA analysis center's Target development view. You can reconsolidate your analysis by clicking Reconsolidate default analysis on the Target development management tab of the Manage files screen.
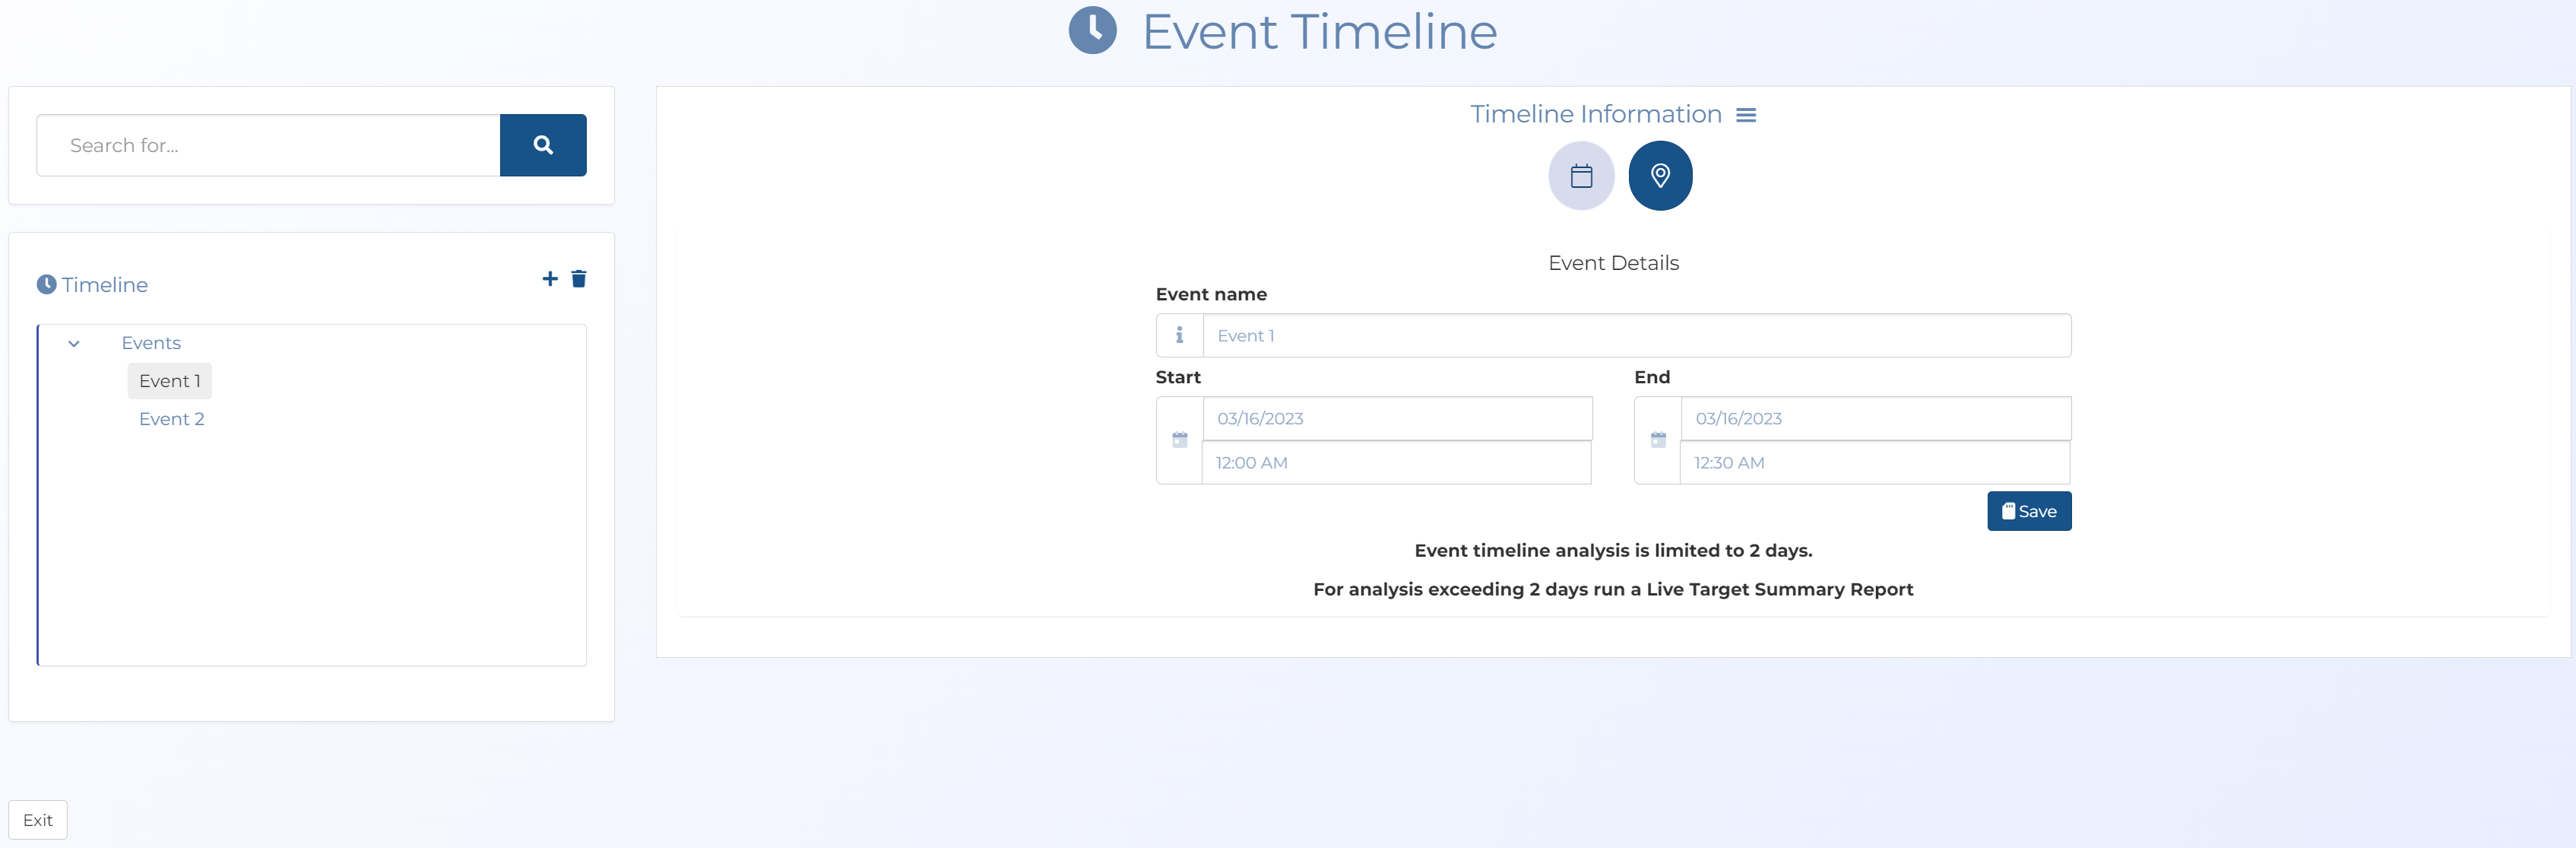
This lists all the events that have been added to the case. Click on an event to view or edit its details. If you edit the details you must click the relevant Save button to save any changes otherwise any changes you make are lost if you move to another screen. To delete existing events click  , then from the dialog box, select the check-box next to the event you want to delete then click Delete selected.
 New event
Click to add an additional event to the case.
Delete event
Click if you want to delete events. A dialog box opens allowing you to select which events you want to delete.
 Event details tab
The Event details tab allows you to manage the event's name, date and time.
Enter a name for your event which is meaningful to you.
You can also edit existing names, such as those automatically created by OSS-ESPA. When you upload geofence or tower dump files OSS-ESPA automatically creates an event based on the times detailed in the file. Events created automatically, for example when you upload a geofence file or from the Locations of interest screen (Case management), are named "<Location name>,Event<n>".
Enter the
 Location tab
The Location tab allows you to manage the locations related to the event. You can add multiple locations to the event. The locations listed are those that have previously been created. You can add or remove locations from the event, however you cannot create new locations from here.
Click to add a new location to the event.
The locations listed are all those that are available for you to add to the event.
These are the locations either automatically created by OSS-ESPA when you uploaded a file, such as a geofence or tower dump file, or that you created. If you need to add a new location then you can create one on either the Locations of interest screen (Case management), or the Target location information dialog box on both the ESPA analysis center screen and the Sentinel screen.
Click to save the target location to the event.
Click  to the right of the location details, to display a menu which contains Remove location.
Click to remove the location from the event.
Click to save the new or updated event.